


Your course's main output should be a collection of videos. The explanation is simple: video is an excellent learning medium; it is the closest thing to studying in person. This doesn't imply you have to stand in front of a camera and video yourself teaching the course like you would in a live Zoom session. You've come up with a concept for your online course. You're enthusiastic about the subject and eager to begin educating new pupils and sharing your knowledge with the rest of the globe.
However, before you can start selling online courses, you must first generate the material for them. You'll also need to make some videos to build an appealing online course.
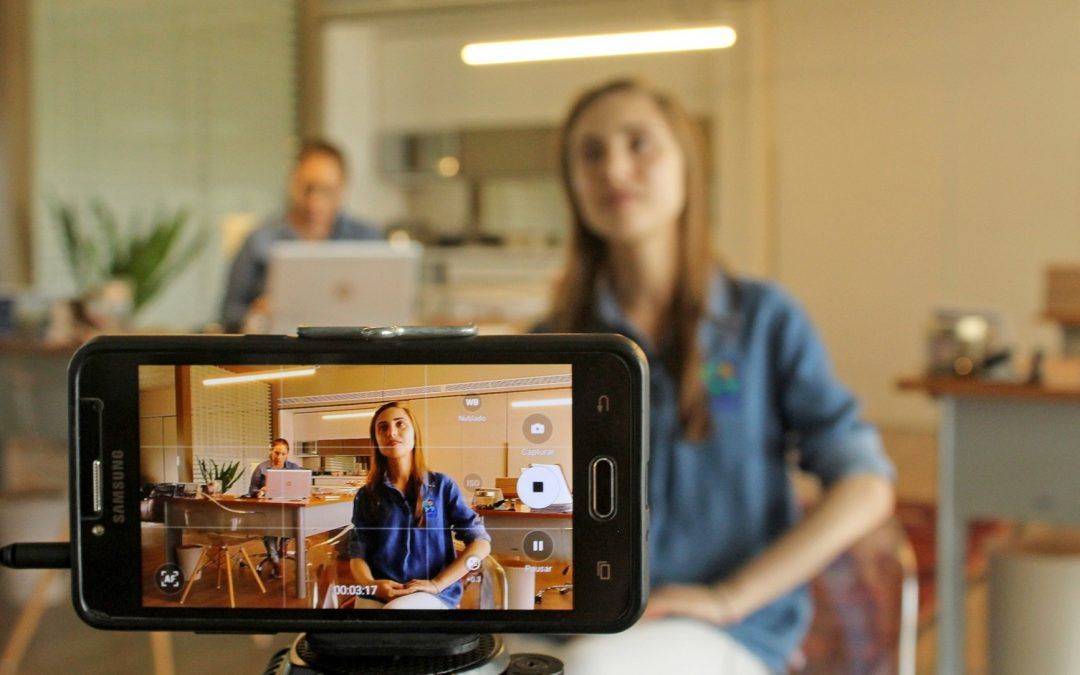
Follow these four steps to record professional-looking videos for your online course, from recording equipment to on-camera confidence.
- Gather your gear
When it comes to video capture, having the right tools is essential. There are many tools to choose from, and picking which one to use can be time-consuming and difficult. To make videos for your online course, you don't need a professional studio or expensive recording equipment. Fortunately, if you're willing to be a little imaginative, you can establish an incredible studio at home on a budget. All you have to do now is gather your equipment and set up your surroundings. Cameras, microphones, lights, and suits are among the several sorts of equipment.
2. Set up your space or home studio
Decide how you'll deliver your information and set up whiteboards, paper sheets, green boards, and other props accordingly. Make the background black, white, blue, or grey to enhance depth. In-person educators understand the importance of fostering a happy learning environment. For online classes, the same can be stated. According to an academic study on online learning, people prefer to study films shot in a casual setting than big-budget studio movies. Instead of seeing your filming location as a movie set, think of it as a classroom. Choose and set up your place with your learners' experience in mind.
Choose a setting that corresponds to your course's topic. For example, you may film a fitness class in your home gym or a cooking demonstration in your kitchen. Take note of the atmosphere in the room. A dynamic colour palette combined with a moving background can portray a high-energy ambiance, whilst a simple colour palette combined with a static background can convey a more peaceful atmosphere. Plants and pictures, for example, can significantly improve the quality of your work. Look around your house for private, welcoming locations that "fit" what you're saying. An office, garden, or even a kitchen can make for great backdrops if they're well-organized and relevant to the subject.
3. Make a video content plan
By planning out your video content before you start recording, you can prevent overshooting material, adding hours of extra editing time, and losing a critical component of your lesson.
If you're teaching a practical method and need to demonstrate it in the flesh, such as cooking techniques, yoga, or art, it's better to use a tripod. It's also useful if you want to put yourself in the spotlight as the instructor and offer the course live on camera. Always attempt to establish a positive relationship with your audience from the start of a video. If you organize your content ahead of time, it will be easier to deliver and more effective. The length of each movie must also be determined while planning your video material. Avoid cramming too much information into a single video lesson. Instead, divide each lesson into smaller, more easily digestible bits. If you're explaining a six-step procedure, consider recording six different videos.
4. Record your online course videos
First and foremost, keep in mind that when it comes to overcoming self-doubt, your audience does not expect you to be perfect. They aren't coming to your online course to watch a perfect expert. They've signed up for your class because they're passionate about the subject and want to learn from you. Maintain a constant tone and style. Presenting on video is almost mystical since you're presenting to an audience of hundreds or thousands of people through the lens. But thinking about it won't help you because concentrating on a huge crowd while giving a presentation is difficult. Indeed, just thinking about all of the potential viewers makes you uneasy and causes you to lose focus. Instead, pretend you're just giving a presentation. Imagine you are just presenting it to a friend. It would make you feel more confident.
Stay tuned to read how to record your online course classes confidently.
Teachmint is the leading ed-infra provider helping educational institutions improve their efficiency. With our offerings like LMS, attendance management, fee management system, and more, institutes can boost their productivity multifold.

